Are you wondering how to shingle a roof? Pinnacle Home Improvements is a leading home improvement company specializing in roofing services. With years of experience and a team of skilled professionals, we offer reliable and high-quality roof shingle installation services. Our expertise extends to various types of roofs, including residential and commercial properties.
Whether you need a roof replacement or a repair, Pinnacle Home Improvements is committed to providing exceptional customer service and ensuring customer satisfaction. We encourage you to look further into our roofing services. We don’t just sell to our clients, though. We’re also here to educate. With this in mind, let’s look further into how to shingle a roof.
How To Shingle A Roof – A Step-by-Step Guide
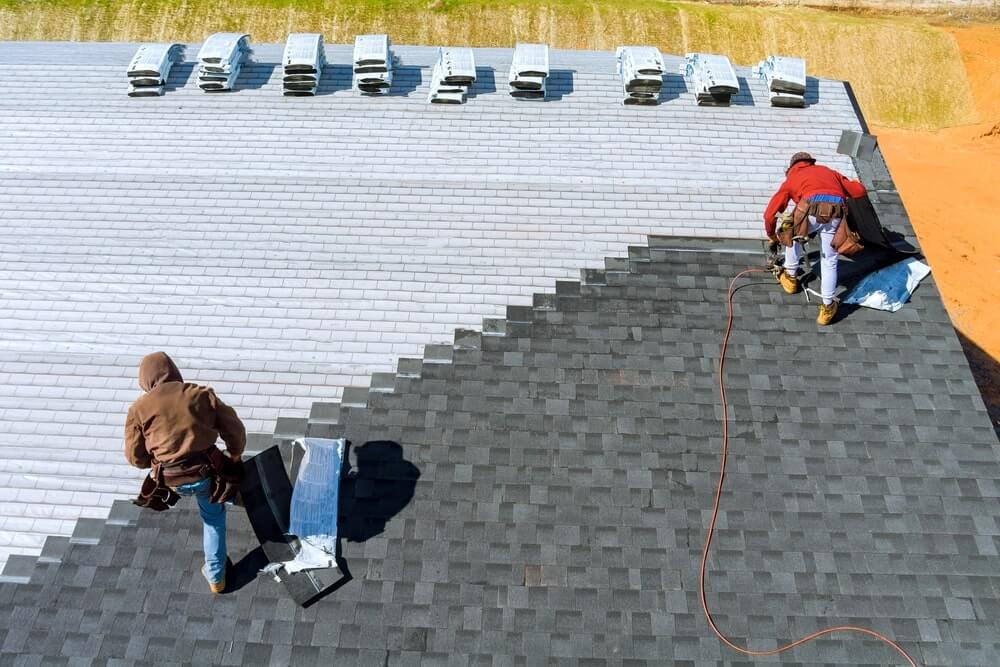
Installing asphalt roofing shingles is a critical process in ensuring the longevity and integrity of a building’s roofing structure. It not only protects the home from weather elements but also contributes to the overall aesthetic appeal of the property. Installing asphalt shingles can be undertaken by those who have the right tools and a basic understanding of roofing techniques. New shingles installation involves several steps starting with the preparation of the roof deck, followed by the application of underlayment, and finally, the proper placement and securing of the shingles themselves.
The process begins with the removal of existing shingles and the inspection of the roof deck for damage. Once any necessary repairs are made, a water-resistant underlayment is laid down to provide an extra barrier against moisture. An expert roofing contractor knows that the proper application of this layer is crucial for preventing leaks and extending the life of the roof. A drip edge is also installed at this stage to guide water away from the fascia and to help protect the roof’s edges from wind uplift.
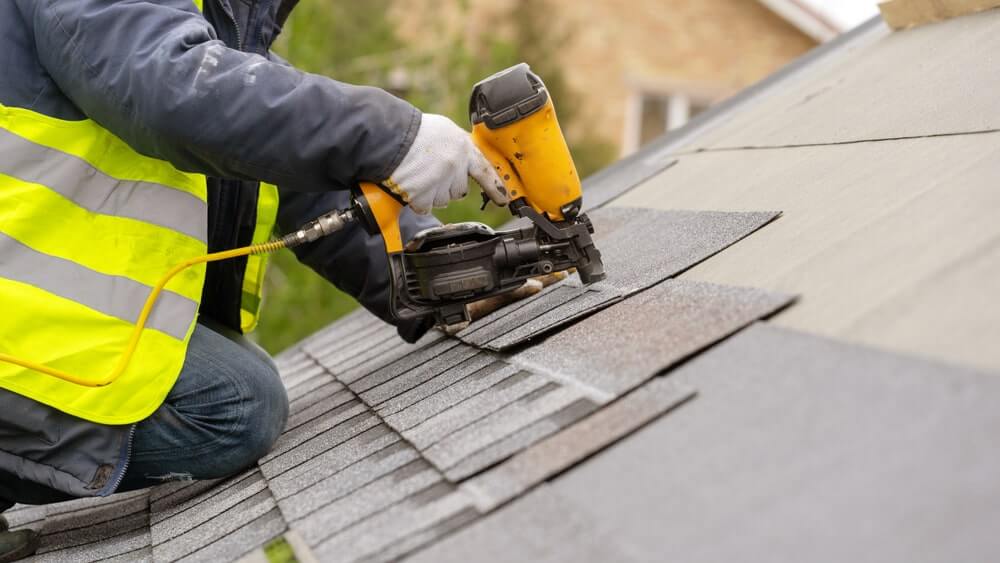
Next, shingles must be carefully aligned and nailed down, with attention to manufacturer recommendations and local building codes. Achieving a straight and water-tight design is essential for the roof’s functionality. Overlooking small details during this phase can lead to larger issues over time. With a methodical approach and attention to detail, installing roof shingles can enhance the home’s protection against the elements and improve its curb appeal.
Understanding Roof Shingles
Before undertaking the installation of an asphalt shingle roof, it’s vital to understand the basics of how to shingle a roof. This includes different shingle types and how to select the right ones for your roofing project.
Types of Roof Shingles
Asphalt Shingles –
These are among the most common and cost-effective shingle options available and come in two primary forms: three tab shingles and architectural shingles.
- Three tab shingles are distinguished by their cutouts—tabs—made along their long lower edge. The result resembles three separate shingles.
- Architectural shingles (also known as dimensional or laminate shingles) are thicker and can create a more dimensional look on your roof, mimicking the appearance of natural slate or wooden shingles.
Metal Shingles –
These offer a long lifespan and improved durability. They come in various materials, including aluminum, steel, copper, and zinc.
Tile Shingles –
Often made from clay or concrete, tile shingles are a popular choice for homes with a Spanish or Mediterranean design. They are quite durable but can be heavy and require additional roofing support.
Slate Shingles –
Slate roofing is known for its natural appearance, longevity, and durability. Slate is quite heavy and requires a strong supporting roof structure.
Wood Shingles –
Crafted from natural wood (such as cedar or redwood), wood shingles provide a unique, natural look that can add character to a home.
Selecting the Right Shingles
Selecting the right type of shingles for your roof involves several considerations:
- Climate: Certain materials perform better in different climates—slate and metal can withstand harsh weather, while wood may be more suitable for temperate regions.
- Weight: Ensure your roof structure can support the weight of the material; tile and slate are especially heavy.
- Aesthetic: Your shingles should complement your home’s architectural style and exterior colors.
- Cost: Finally, consider your budget—metal and slate tend to be more expensive, while asphalt is a more budget-friendly option.
Each shingle type offers distinct advantages, and the best choice will depend on the project’s specific requirements and goals.

Pre-Installation Process
Before one begins the task of installing roof shingles, it is crucial to have a thorough plan, ensuring all the necessary tools and materials are on hand, the roof is properly assessed and prepared, and strict safety measures are in place.
Required Tools and Materials
The installation of roof shingles requires a specific set of tools and materials. Essential items include:
- Hammer or nail gun
- Utility knife for trimming shingles
- Tape measure for accurate measurements
- Pry bar for removing old shingles
- Ladder for roof access
- Shingles of choice
- Roofing nails appropriate for the shingles
- Underlayment for water protection
- Drip edge to guide water off the eaves
- Starter strip shingles or roll roofing for the first row
- Chalk line for aligning shingles
It’s also advisable to prepare a first aid kit and have it easily accessible in the event of an injury.
Roof Assessment and Preparation
Careful assessment and preparation of the roof are fundamental to a successful shingle installation. The process involves:
- Inspecting the roof for any signs of damage, such as cracked or missing shingles, and assessing the need for repairs or replacement.
- Cleaning the roof surface of debris, such as leaves or old roofing materials, to ensure a flat surface for underlayment and shingles.
- Measuring the entire roof area so one can calculate the number of shingles needed. For accurate numbers, measurement techniques must be employed.
- Installing underlayment according to the manufacturer’s specifications as the first layer of water protection.
Safety Measures
The importance of safety cannot be understated when it comes to roof work. Key measures must include:
- Using a safety harness and anchoring system to prevent falls.
- Wearing safety goggles and work gloves to protect eyes and hands.
- Ensuring ladders are stable and securely positioned.
- Being mindful of the weather conditions, as wet or windy weather can increase the risk of accidents.
- Keeping the work area clear of tools or debris to prevent tripping hazards.
Installation Procedure
The installation of roof shingles is a meticulous process that requires precision and attention to detail. Adhering to the correct methods not only improves the roof’s longevity but also its resistance to the elements.
Step-by-Step Installation Guide
- Preparation: Ensure the roof deck is clean and flat. Lay down asphalt roofing paper over the deck to create a vapor barrier.
- Drip Edge: Install the drip edge at the eaves and over the roofing paper for water redirection.
- Starter Shingles: Apply the starter strip of shingles along the bottom edge of the roof, overhanging the drip edge by half an inch.
- Shingle Courses: Install shingles beginning from the bottom edge of the roof in a staggered pattern ensuring each shingle overhangs the drip edge by half an inch.
- Flashing: Use metal flashing around any roof penetrations, valleys, or joints for additional water protection.
- Ridge Cap: Once you reach the top, install ridge cap shingles to cover the peak of the roof.
Professional Installation Tips
- Nail Placement: Each shingle should have a minimum of four nails. Place them straight and above the cutouts between the tabs of the shingle.
- Alignment: Keep an eye on the shingle alignment with the help of a chalk line to ensure they remain straight across the roof.
- Sealing: Seal down any loose shingle tabs with roofing cement, particularly on the ridge and at the edges.
Common Mistakes to Avoid
- Improper Overhang: Shingles should overhang the roof edge by no more than a half inch to an inch to prevent water from entering under the shingles.
- Incorrect Nailing: Avoid under or over penetration of nails. Nail heads should not be too high or low on the shingle to ensure maximum hold.
- Neglecting the Weather: Do not install asphalt shingles in cold weather as they require heat from the sun to properly seal.
By carefully following each step and heeding the given professional advice, one can sidestep common installation errors, culminating in a roofing job well done.
Post-Installation Care
After installing new roof shingles, proper care is crucial to ensure their longevity and performance. This section provides focused guidance on maintenance and the strategic long-term care of your shingles, emphasizing the value of professional involvement.
Maintenance Tips
Regular maintenance of your newly shingled roof is key to extending the life of roof shingles. Homeowners are advised to:
- Inspect shingles bi-annually or after severe weather conditions for any signs of damage or wear. Any issues should be addressed promptly to prevent further damage.
- Keep the roof free of debris, such as leaves and branches, which can retain moisture and compromise shingle integrity.
- Ensure proper attic ventilation to avoid heat buildup that can prematurely age shingles.
It’s also important to note that while some maintenance can be performed by the homeowner, more complex tasks should involve a professional roofer from Pinnacle Home Improvements to ensure the highest standards are met and to maintain the roofing warranty.
Long-Term Care Strategies
For long-term care of roof shingles, consider the following strategies:
- Applying a protective sealant can extend the life of shingles by providing an extra layer of protection against the elements.
- Trimming overhanging tree branches can reduce the risk of branches falling and damaging the shingles, as well as limit the accumulation of leaf debris.
Turn to Pinnacle Home Improvements For Your Roofing Needs
Homeowners should always look to hire qualified professionals for periodic inspections to ensure that complex aspects of roof maintenance are properly managed. The professionals at Pinnacle Home Improvements have the expertise necessary to make informed decisions about repairing versus replacing damaged shingles and will often identify issues not obvious to the untrained eye. We’re also adept at installing shingles should the task prove too difficult or dangerous for homeowners to handle in a DIY manner. Contact our roofing contractors today to discuss your roofing project.


